OVOS Quick Start - First Boot
You now have a flashed boot medium with OVOS installed. Now what?
Insert your boot medium, and power on your device.
NOTE If using a Raspberry Pi 4 with a device conneected via USB-A, the top-right USB 3.2 Gen 1 port is recommended.
Each image has a different experience when you first boot your device.
Notes on internet While OVOS can run fully offline, with on device STT and TTS, your device will be lacking many of the things you expect from a smart assistant. On a RPi, this includes the date and time because the Pi lacks a Real Time Clock, and therefor needs to connect to a server to set those on your device.
Buildroot - GUI
When you first boot the Buildroot image, you will be greeted with an OVOS splash screen as shown below.

As this is the first time you have booted your device, it might take a bit longer than normal as the system is preparing its local filesystem and extending it over the full size of the sdcard/USB device. Eventually the progress bar will be filled up indicating the Operating System has been fully booted, after which the ovos-shell animated loading screen will be shown.

Again, since this is your first boot, this might take a bit longer as the ovos-core configuration is populated and skills are being setup.
Ethernet
There should be no issues connecting automatically if your router accepts DHCP requests.
WiFi
If you do not have an internet connection, you will be prompted with a screen with options to connect.
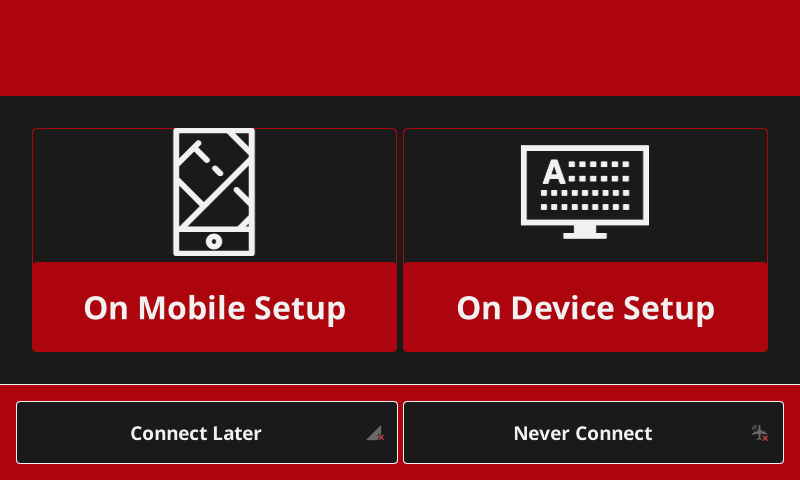
You can also skip this step to configure it later or never ask it again if you want your device to run fully offline. (Bear in mind you need to configure your device to use local STT and TTS engines and obvious asking your device things that require internet will not work. This includes the date and time as a Raspberry Pi does not have a Real Time Clock and therefore does not know this data without being told).
On Device Setup
If this option is selected the next screen will have a list of available WiFi connections.
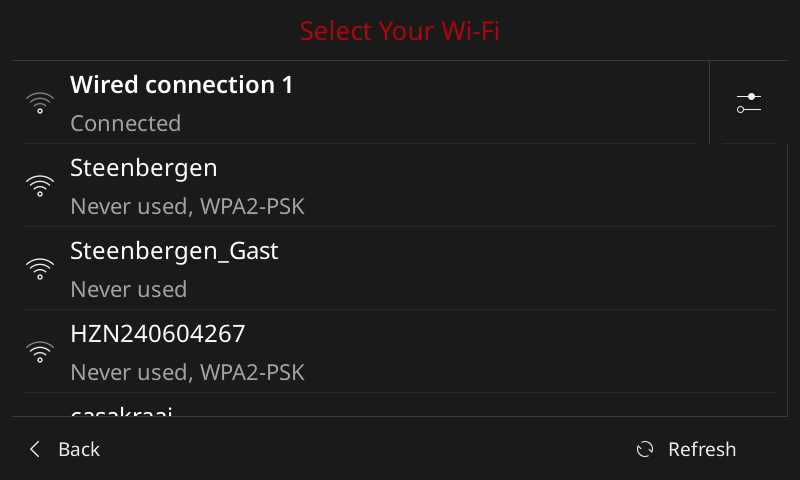
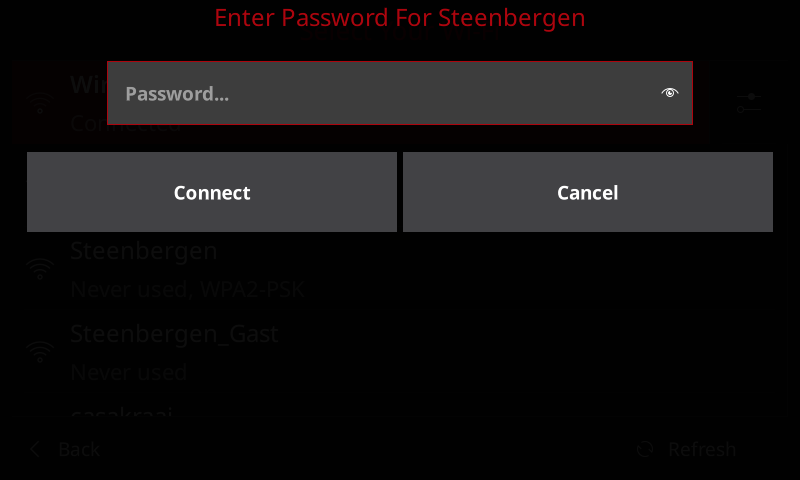
Select your desired network, and enter a password if needed.
If everything went correctly, you should be connected to the internet and after a short period of time, OVOS is loading skills that require internet, you will be presented with the homescreen.

Configure WiFi after skipping initial setup
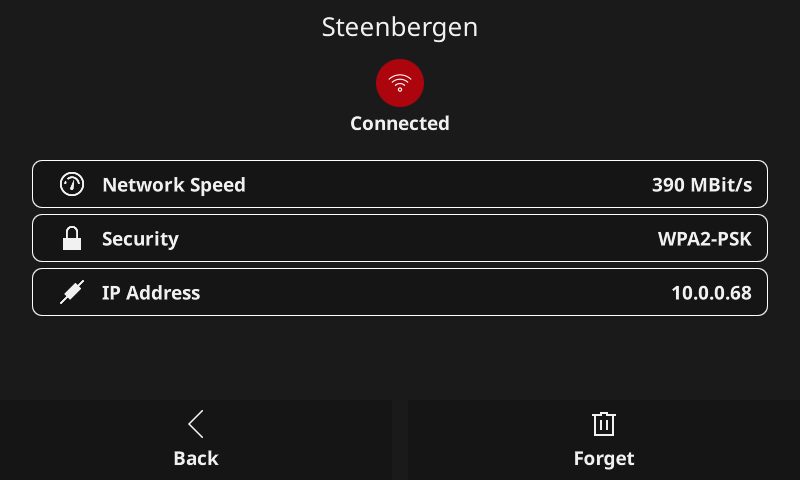
If you have skipped the Wi-Fi network setup before, or you just want to reconfigure your network. On the homescreen of your OpenVoiceOS device swipe down the top menu and click the "Wi-Fi" icon. This brings you to the same on-device configuration screen.
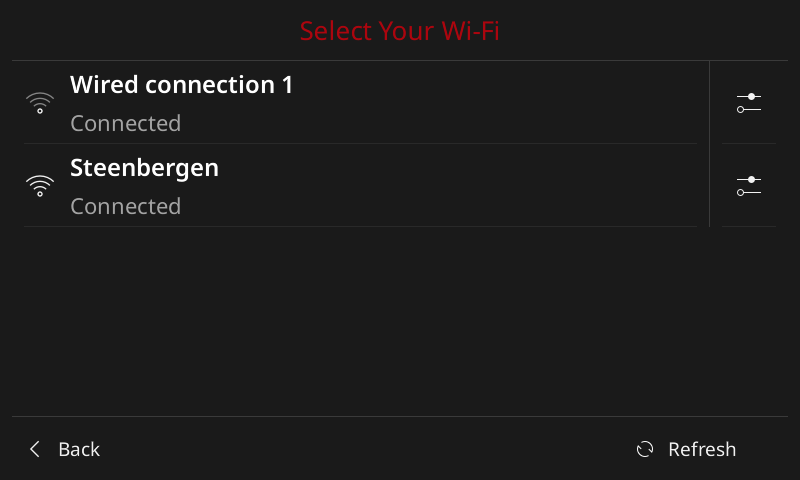
From here you can select another network or click the configuration icon on the right of connected network for details or to remove it from the configured networks.
Mobile Setup
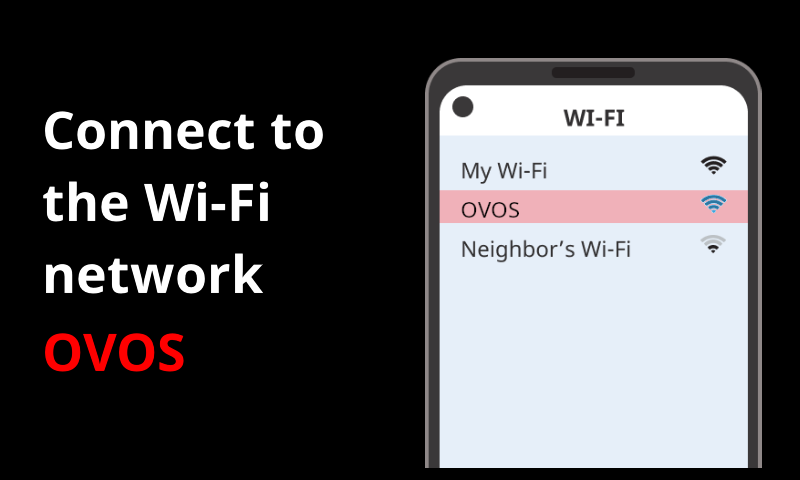
If this option is chosen, you will be prompted to connect your mobile device, or computer to the hotspot OVOS.
The rest of this option coincides with the headless image WiFi setup. Continue Mobile WiFi Setup.
Raspbian-ovos - Headless
If you are trying to run OVOS on a RPi3, this is the image to use. It DOES NOT provide a GUI, therefore some things that are available on the buildroot image, are not available here.
Once again, it may take several minutes for this first boot to complete. OVOS resizes the partition on the drive, and loads the required plugins.
Ethernet
There should be no issues connecting automatically if your router accepts DHCP requests.
WiFi
The Raspbian image will create a HotSpot which is a temporary access point that allows you to configure your WiFi credentials.
On first boot, you should hear a voice prompt instructing you to connect to the OVOS hotspot.
"Open a browser to 'start dot openvoiceos dot com'"
Connect your mobile device or computer to the OVOS HotSpot and open the webpage http://start.openvoiceos.com NOTE This is NOT the official OVOS website, rather a "HotSpot" created by OVOS and will be removed after the device is connected to WiFi.
Choose from the list of WiFi access points from the list on your mobile device.
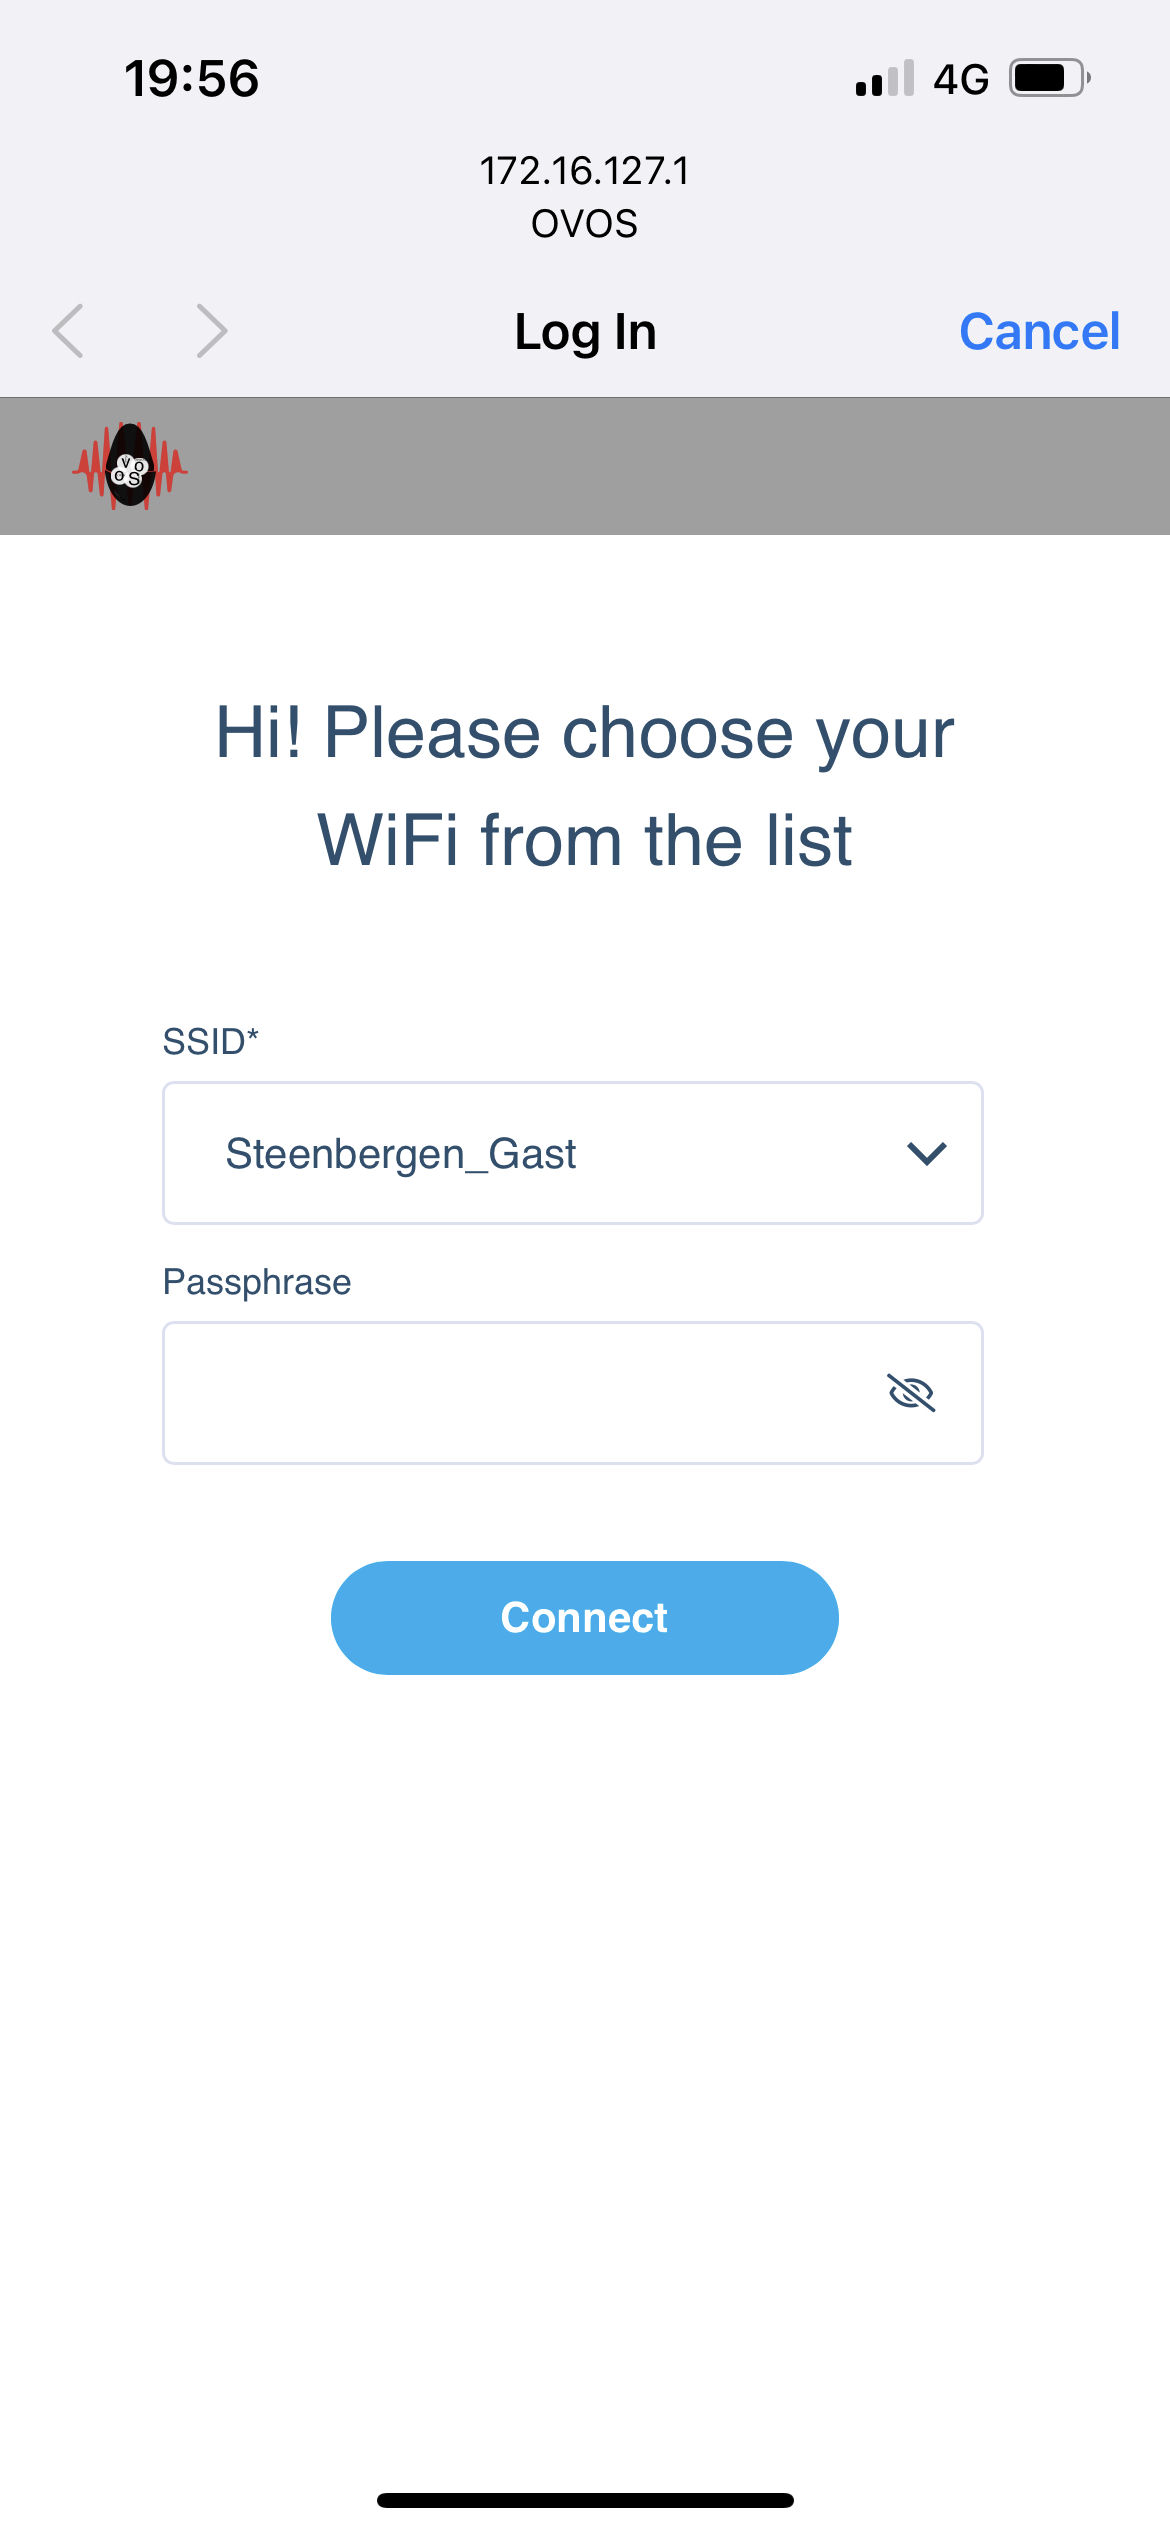
Enter your password if needed and enjoy your OVOS smart assistant.
NOTE There is a known bug in with balena-wifi connecting to WPA3 security. You must use on device setup or use raspi-config from a command prompt if your WiFi security is not supported with the mobile setup option.
Thats it!! You should have a working OVOS device, QUICK!!
While this is the fastest and easiest way to get OVOS, it is not the only way.